miniwhim Journal

Styling notes, maker tips, and small stories from the mini world.

For kidults who collect, style, photograph, and build. Start with a soft how-to, a care guide, or a peek inside how our community turns shelves into tiny dream rooms.

Exquisite doll styling Featured 🌟
Doll Styling • 5 Min Read

10 Ways to Style Your 15cm Doll for Spring

Ready for a wardrobe refresh? From tiny straw hats to pastel knitted cardigans, we show you how to layer your cotton baby's outfits for those sunny afternoon photo shoots...

Read Full Guide
DIY bag tutorial
DIY Craft

How to Build Your First Miniature Landscape

Tips and tricks for beginners working with preserved moss and tiny figures without making a huge mess!

Doll care guide
Care Guide

Doll Spa Day: Washing & Brushing Fluffy Hair

Don't let your doll get bed hair! A safe guide to washing plush bodies and styling synthetic hair.

Community spotlight
Player Spotlight

Amazing Custom Doll Rooms by the Community

Check out these incredible room boxes built entirely from our DIY kits by talented players.

Featured Guide

10 Ways to Style Your 15cm Doll for Spring

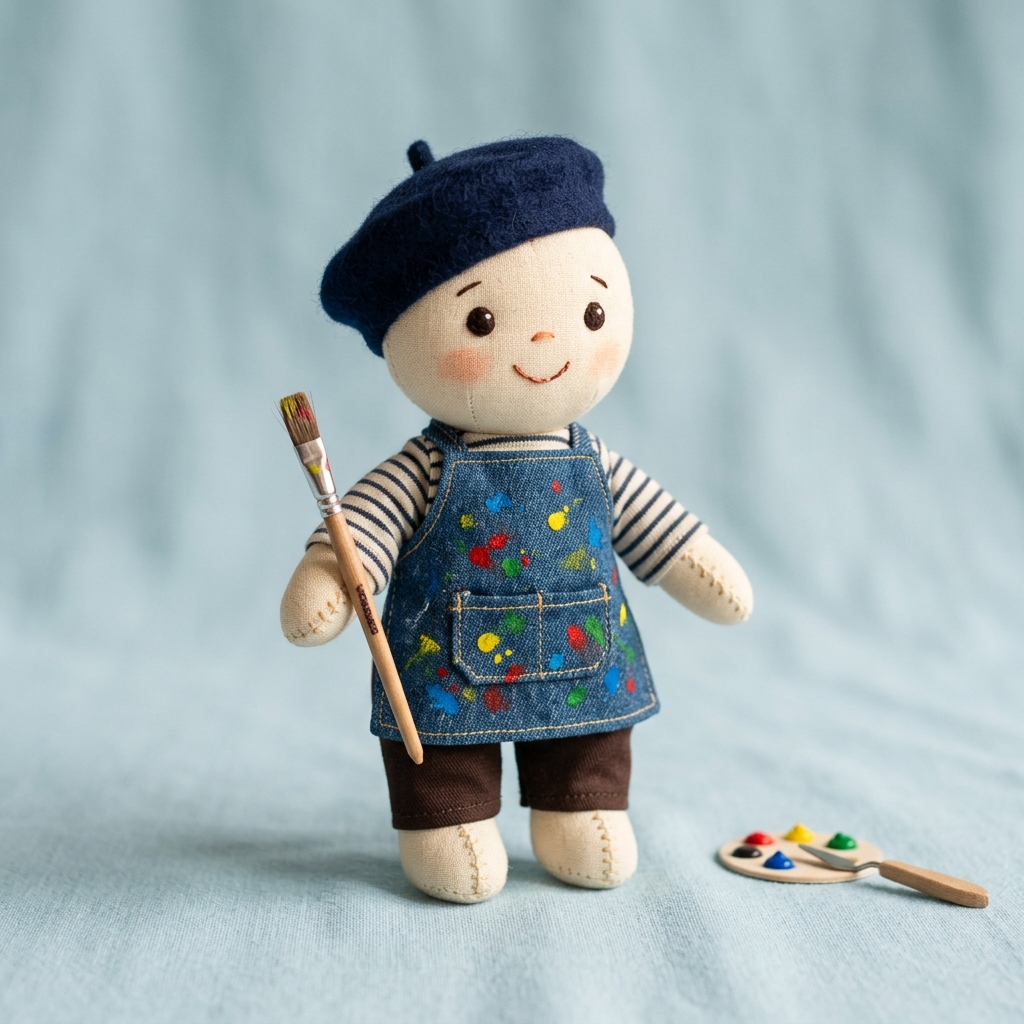
Start with one soft anchor piece like a cardigan or linen pinafore, then layer in tiny accessories that read clearly on camera: a ribbon, a little tote, a straw hat, or one standout charm clipped nearby.

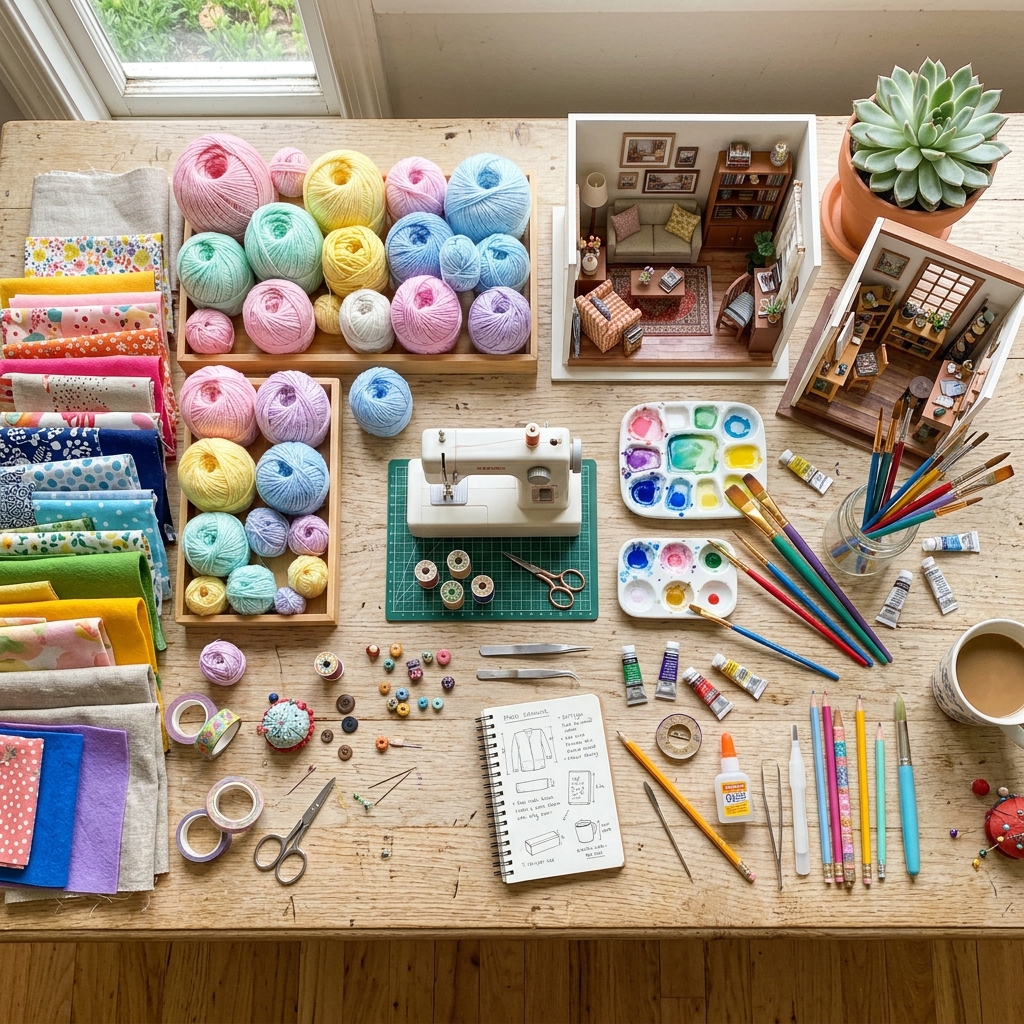
The easiest spring palette for doll photography is cream, butter yellow, blush, sage, and faded coral. Stick to two dominant colors and one playful accent so the look feels collected rather than busy.

If you are building a product shot, match the doll outfit to a mini scene element nearby. A floral bag charm, moss dome, or tiny reading nook gives the styling a fuller story and helps the whole shelf feel intentional.

DIY Craft

How to Build Your First Miniature Landscape

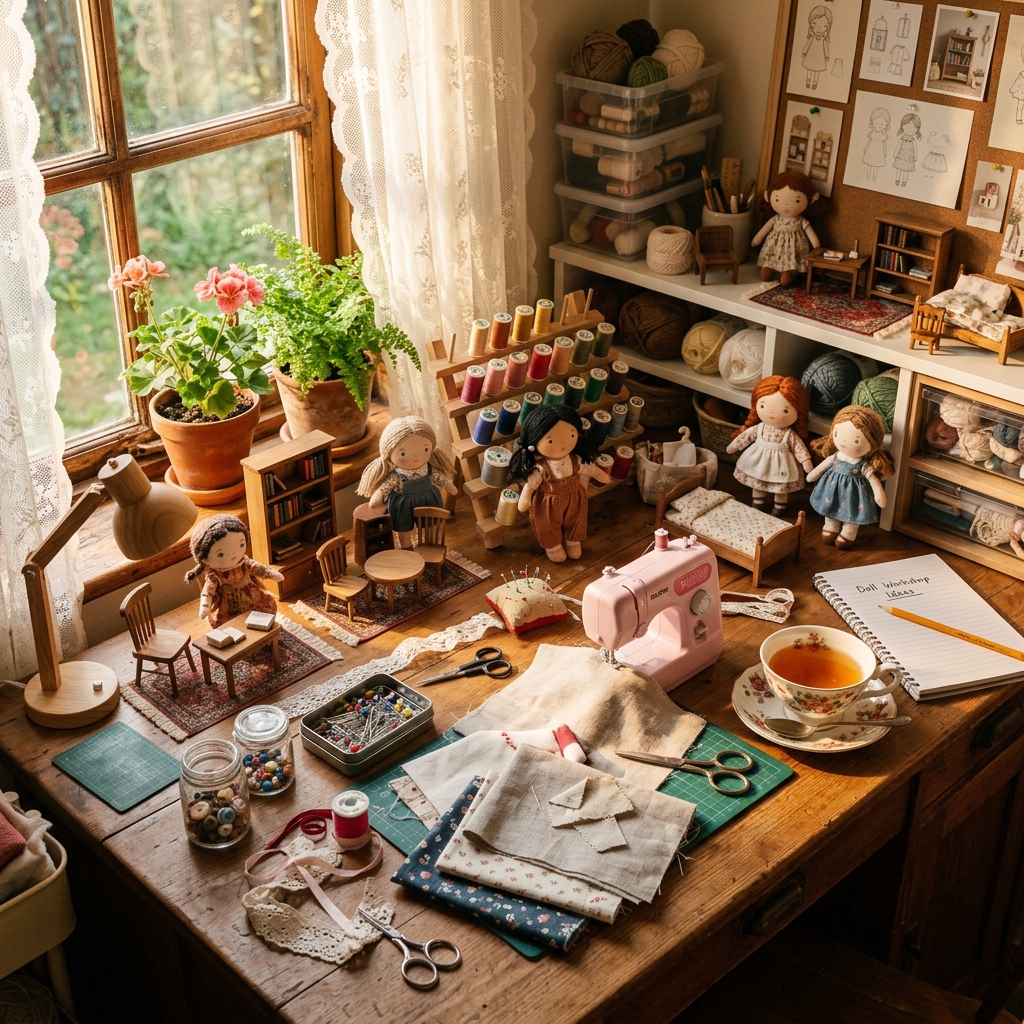
Choose one focal object first: a bench, a lamp, or a tiny shop door. Once you have a hero piece, it becomes much easier to decide where your moss, gravel, signage, and lighting should sit.

Work in layers from the back forward. Place walls and large props first, then medium objects like shelves and books, and only after that add your final “magic” details such as florals, tea cups, and scattered paper.

For beginners, a finished-looking scene usually comes from restraint. Leave one area visually quiet so the eye can rest; tiny worlds feel more believable when every corner is not equally full.

Care Guide

Doll Spa Day: Washing & Brushing Fluffy Hair

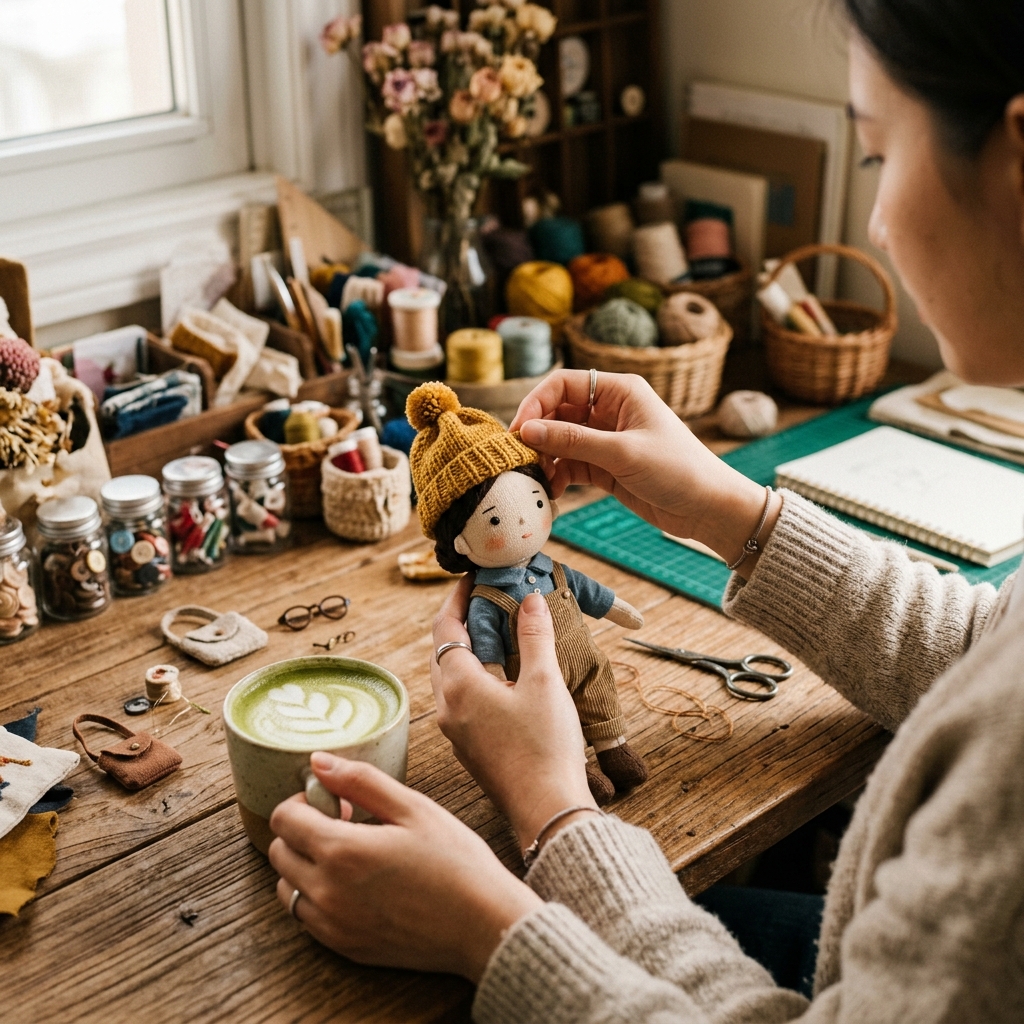
Brush slowly from the ends upward with a soft tool, especially for styled bangs or curled sections. Quick brushing at the root can loosen the fluff and make styling harder to recover.

If the doll body needs a refresh, spot-clean first. Use as little moisture as possible and let the plush dry fully in open air before changing clothes or storing it in a display bag.

After care, restyle with one simple accessory rather than a full outfit change. A fresh ribbon or mini bag often brings the whole doll back to life without overhandling the fabric or hair.

Player Spotlight

Amazing Custom Doll Rooms by the Community

The most memorable community rooms always have one mood: bookshop, greenhouse, dessert counter, rainy-day bedroom. That emotional clarity is what makes even a tiny shelf setup feel cinematic.

Our favorite maker trick is mixing finished miniwhim pieces with personal treasures. A handmade curtain, a found bead, or a tiny notebook from a trip can make the whole room feel deeply yours.

If you want to be featured, send a few clear photos plus the doll size and the scene story to hello@miniwhim.com. We would love to keep this little world growing with you.

Keep Exploring

Read a guide, then step into the matching mini world.

If a styling note or maker tip sparks an idea, jump straight into the category pages that fit the story best: wardrobe play, scene building, or community inspiration.

Never Miss a Drop! 💌

Join our newsletter to get free DIY printables, early access to new doll clothes, and more mini fun.